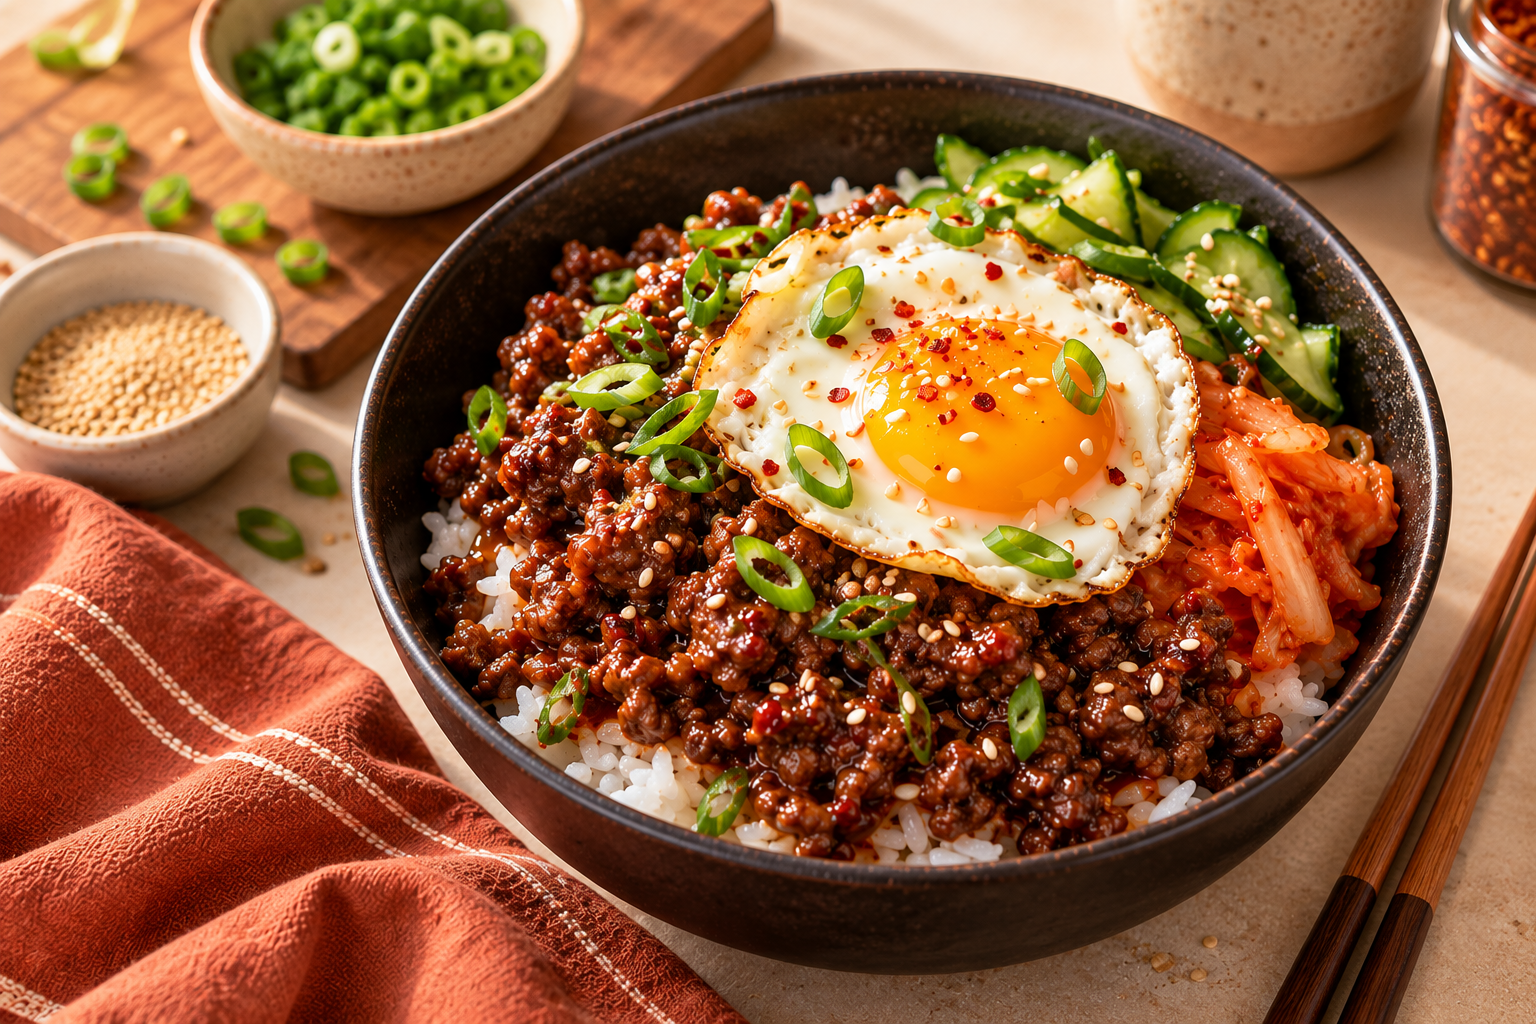
Korean Ground Beef Bowls
These Korean ground beef bowls taste like takeout but come together in about 20 minutes with pantry staples. Sweet, savory, glossy beef goes over warm rice with green onions and sesame seeds, and a fried egg on top if you like. It is an easy weeknight dinner that also works for meal prep.
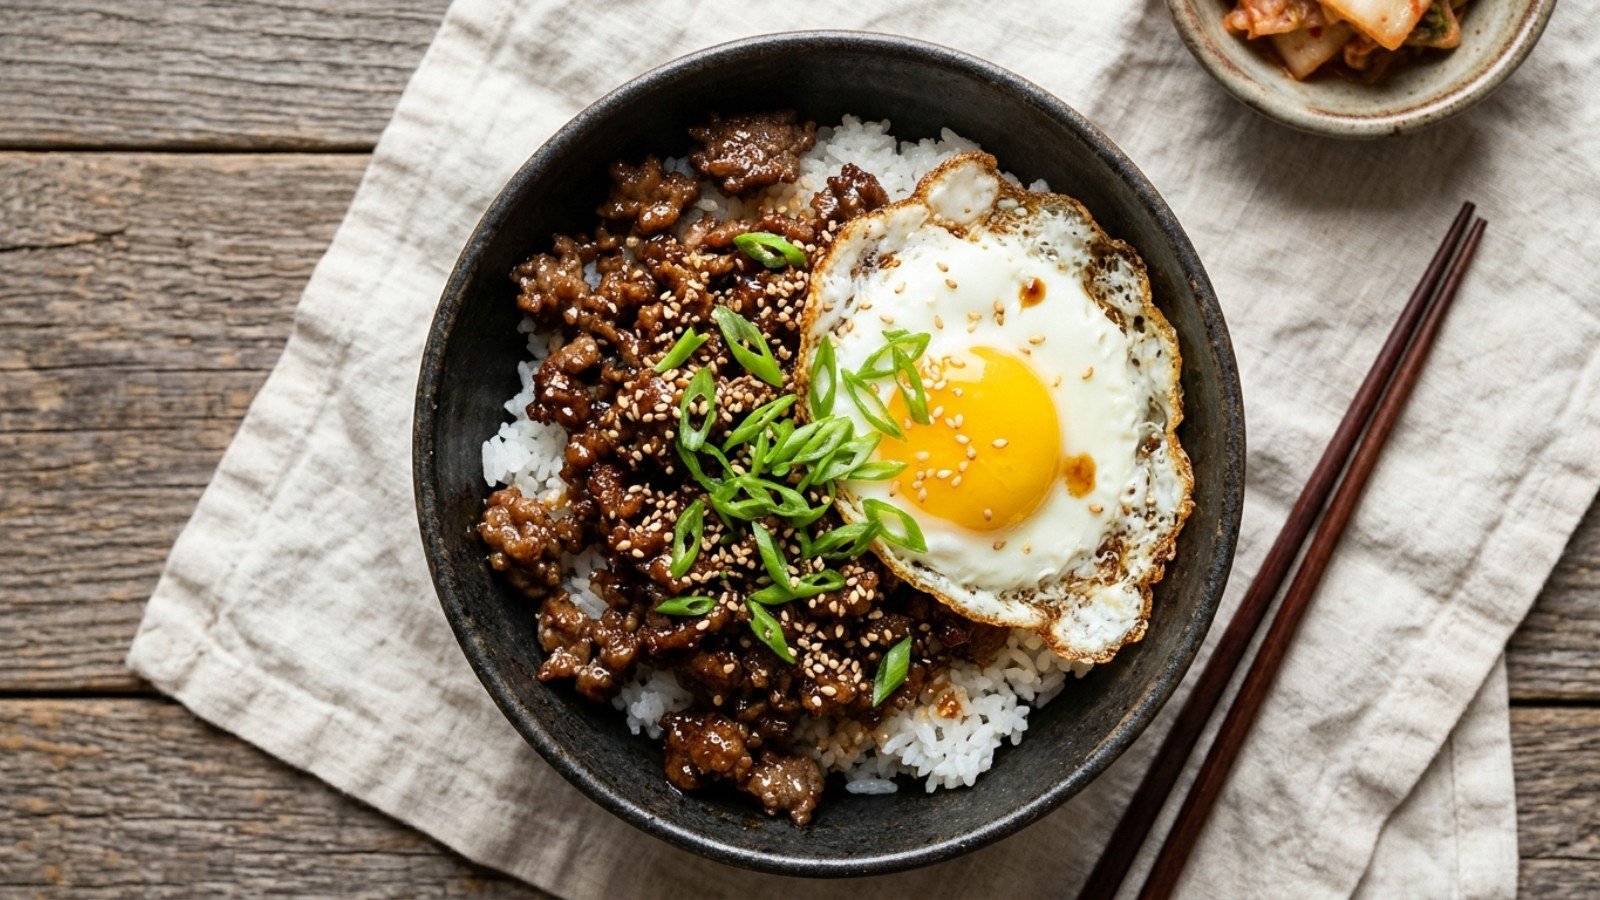
Why you will love Korean ground beef bowls
- Fast. About 5 minutes of prep and 15 minutes of cooking.
- One pan. The beef and sauce cook in the same skillet.
- Pantry sauce. Soy sauce, brown sugar, garlic, ginger and sesame oil.
- Easy to change. Make it milder for kids or hotter with more chili flakes.
What you need
- Lean ground beef: 1 pound (450 g). 90% lean means less fat to drain.
- Garlic: 3 cloves, minced.
- Soy sauce: 1/4 cup. Use low-sodium if you want it less salty.
- Brown sugar: 2 tablespoons, packed.
- Sesame oil: 1 teaspoon (toasted sesame oil has the most flavor).
- Ground ginger: 1/2 teaspoon, or 1 teaspoon fresh grated ginger.
- Red pepper flakes: 1/4 teaspoon (optional).
- To serve: cooked rice, sliced green onions and sesame seeds.
How to make Korean ground beef bowls

- Start the rice. Cook your rice first, or warm leftover rice, so it is ready when the beef is.
- Brown the beef. Put the ground beef and garlic in a large skillet over medium-high heat. Break it up with a spoon and cook for 6 to 8 minutes, until no pink is left. Drain any extra fat.
- Add the sauce. Stir the soy sauce, brown sugar, sesame oil, ginger and red pepper flakes together and pour over the beef. Simmer for 2 to 3 minutes, stirring, until the sauce thickens and coats the beef.
- Check the temperature. Ground beef is safe at 160°F (71°C). The USDA lists this on its safe minimum internal temperature chart.
- Build the bowls. Spoon the beef over rice and top with green onions and sesame seeds.
Tips for the best Korean beef
- Let the beef brown. Spread it out and leave it for a minute before stirring. The browned bits add flavor.
- Thicker sauce: stir 1 teaspoon cornstarch into 1 tablespoon of water and add it with the sauce.
- Fresh ginger and garlic give the brightest flavor, but the jar or ground kind works fine on a busy night.
Ways to serve it
- Fried egg: a runny egg on top makes it more filling.
- Add vegetables: steamed broccoli, shredded carrots, sliced cucumber or quick sautéed spinach.
- Swap the base: brown rice, cauliflower rice or noodles all work.
- Add heat: a little sriracha or gochujang stirred into the sauce.
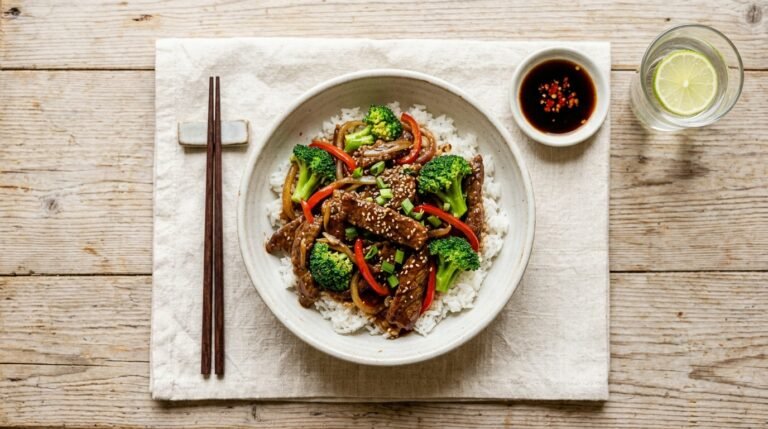
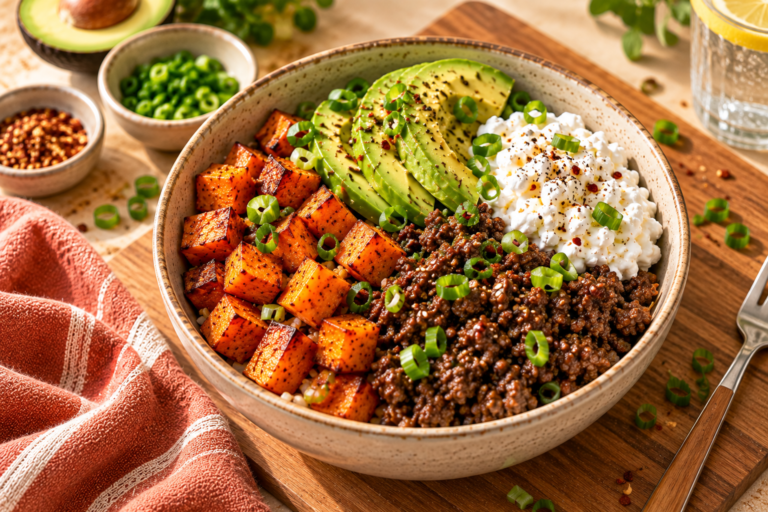
For more quick bowls, try our sweet potato and ground beef bowl or the 30-minute beef and broccoli stir-fry. Both are in our list of easy January dinner ideas.
Meal prep and leftovers
- Cool the beef within 2 hours and keep it in a covered container in the fridge for 3 to 4 days.
- Store the rice and beef in separate containers if you can; the rice stays softer.
- Reheat until hot all the way through (165°F / 74°C for leftovers).
- The cooked beef freezes well for up to 3 months. Thaw it in the fridge overnight.
Frequently asked questions
Can I use ground turkey or chicken instead of beef?
Yes. Use the same amount and cook it to 165°F (74°C). Add a splash of oil to the pan, because turkey and chicken are leaner.
Is this recipe spicy?
Only a little. The 1/4 teaspoon of red pepper flakes gives a mild warmth. Leave them out for kids, or add more for heat.
What rice is best for Korean beef bowls?
Short-grain or jasmine rice is soft and slightly sticky, which holds the sauce well. Any rice you like will work.
Can I make it ahead?
Yes. Cook the beef up to 3 days ahead and keep it in the fridge. Reheat it in a skillet with a splash of water until hot.
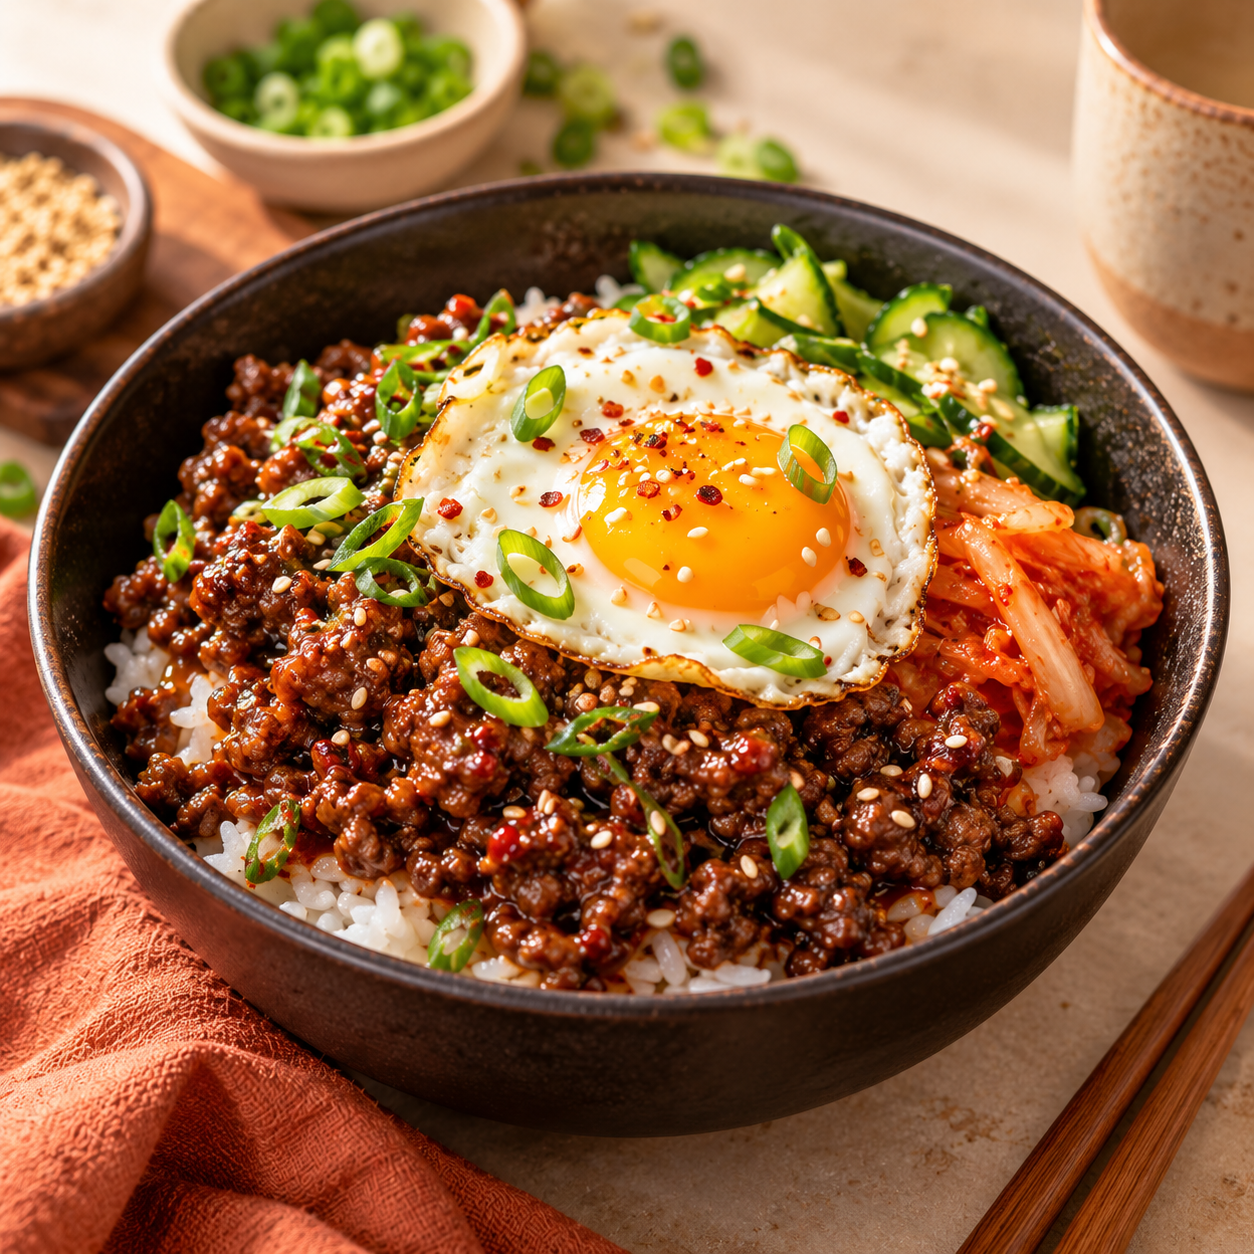
Korean Ground Beef Bowls
Ingredients
Method
- Brown the ground beef with the garlic over medium-high heat, breaking it up, 6–8 minutes.
- Stir in soy sauce, brown sugar, sesame oil, ginger and red pepper flakes; simmer 2–3 minutes until glossy. Cook to 160°F (71°C).
- Spoon over cooked rice and top with green onion and sesame seeds.
Notes
- Add a fried egg on top for extra protein.
- Serve over cauliflower rice to cut carbs.
- Add a squeeze of sriracha for heat.
This recipe was developed with the help of AI tools and reviewed before publishing. It may not have been independently kitchen-tested — use your judgment, check for allergens, and cook to safe temperatures. See our AI Content Disclosure. Spotted an issue? Tell us.